

One of the biggest disappoints with some vintage 35mm cameras is the loss of finish. Whether it’s a wear mark around the strap lugs, a chip in the viewfinder glass, or a dented bottom plate, damage to a historical photographic relic can be devastating.
Case in point, the degradation or loss of a camera body’s finish can be both a visual eyesore, as well as a tactile discomfort. While most camera’s covering material is leather or leatherette, a peeling, torn, or filthy swath of this material is saddening, maddening, and downright disgusting.
When you’re convinced that you need to address this physical blemish, you have three generalized approaches that you can take towards restoration: ignore the problem, hire a professional restorer, or, throw caution to the wind and DIY.
If you elect to attempt the camera finish repair yourself, you have three paths that you can take: remove the leather and leave the camera body bare, replace the camera damaged leather with brand new camera-specific leather, or replace and recover the camera with a more rugged, but historically inaccurate, material.
Whatever you do don’t try to “just re-glue the original finish.” The combination of old and new adhesives will damage the camera finish and you will not be happy with the results.
This is Not Rich Corinthian Leather
While the process demonstrated in this article pertains to the historically inaccurate refinishing path, you can equally apply its techniques to any DIY recovering task. Let’s begin.
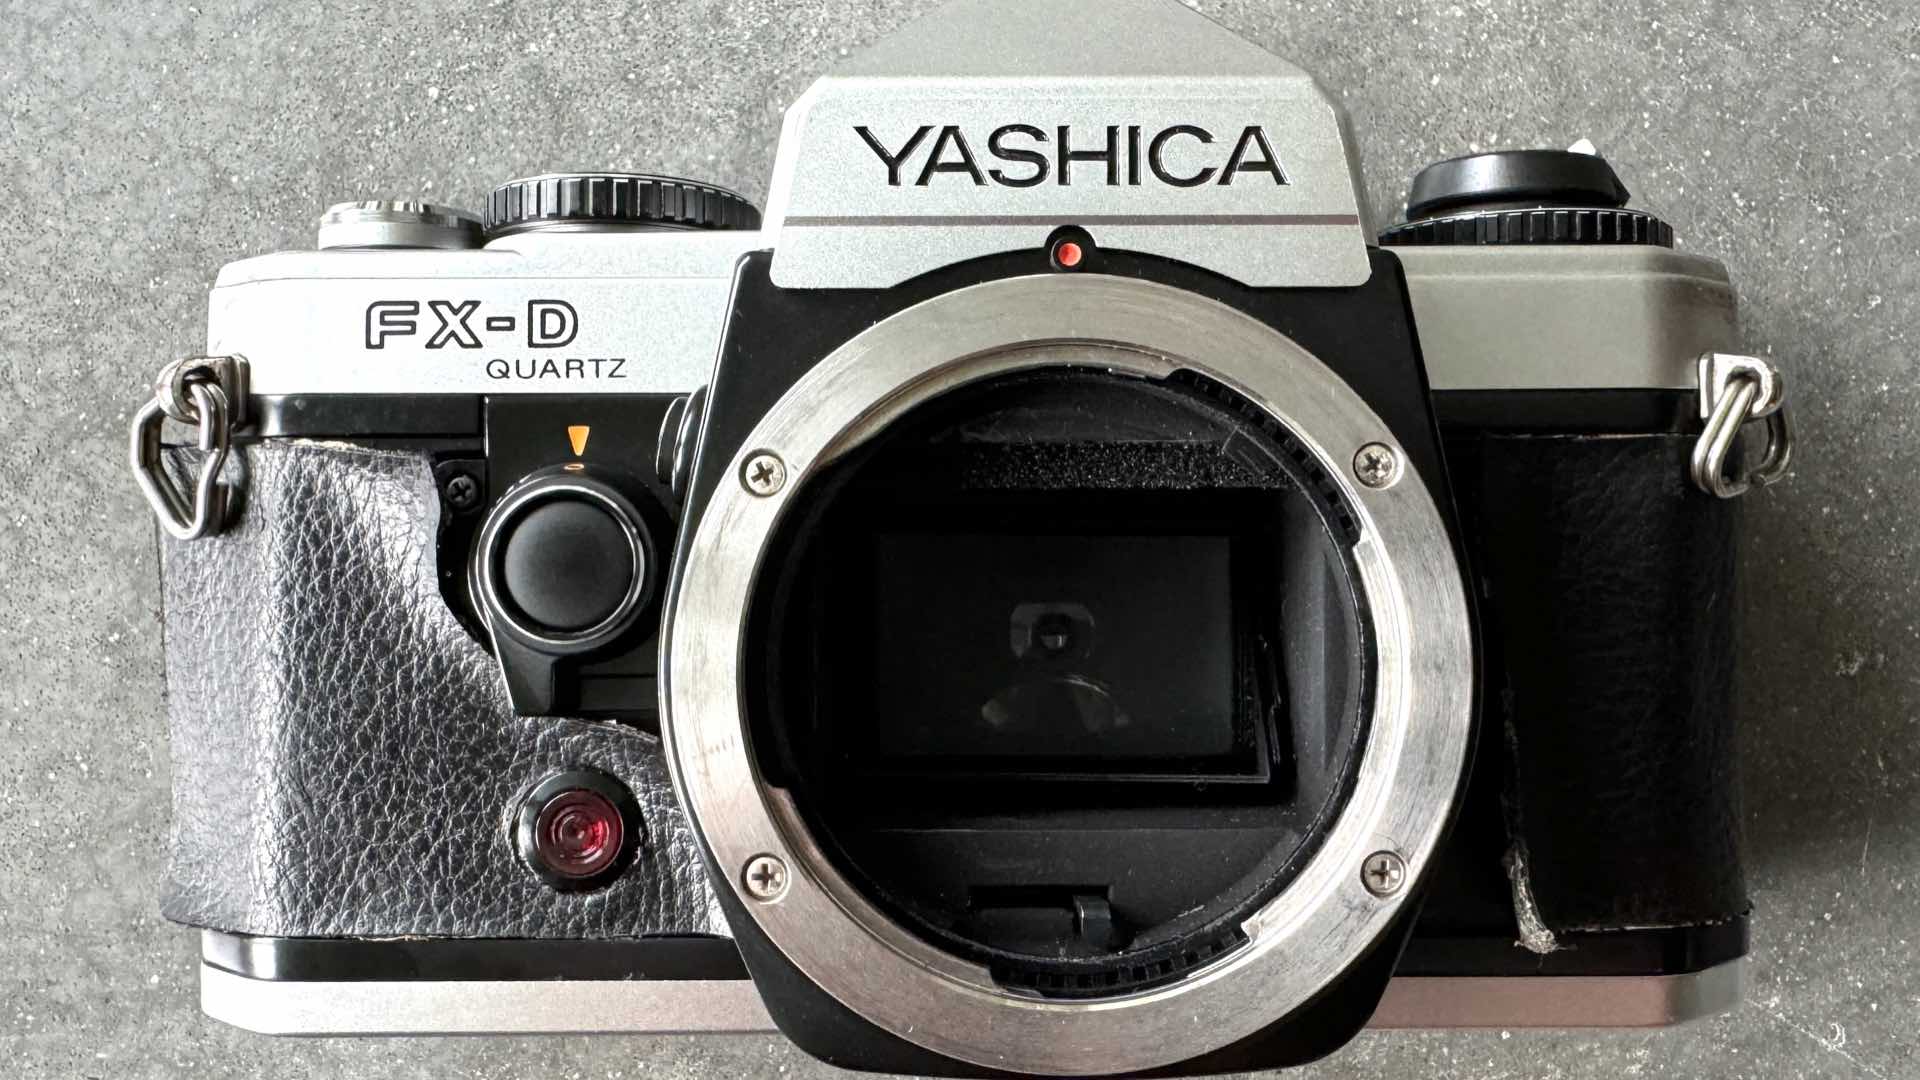
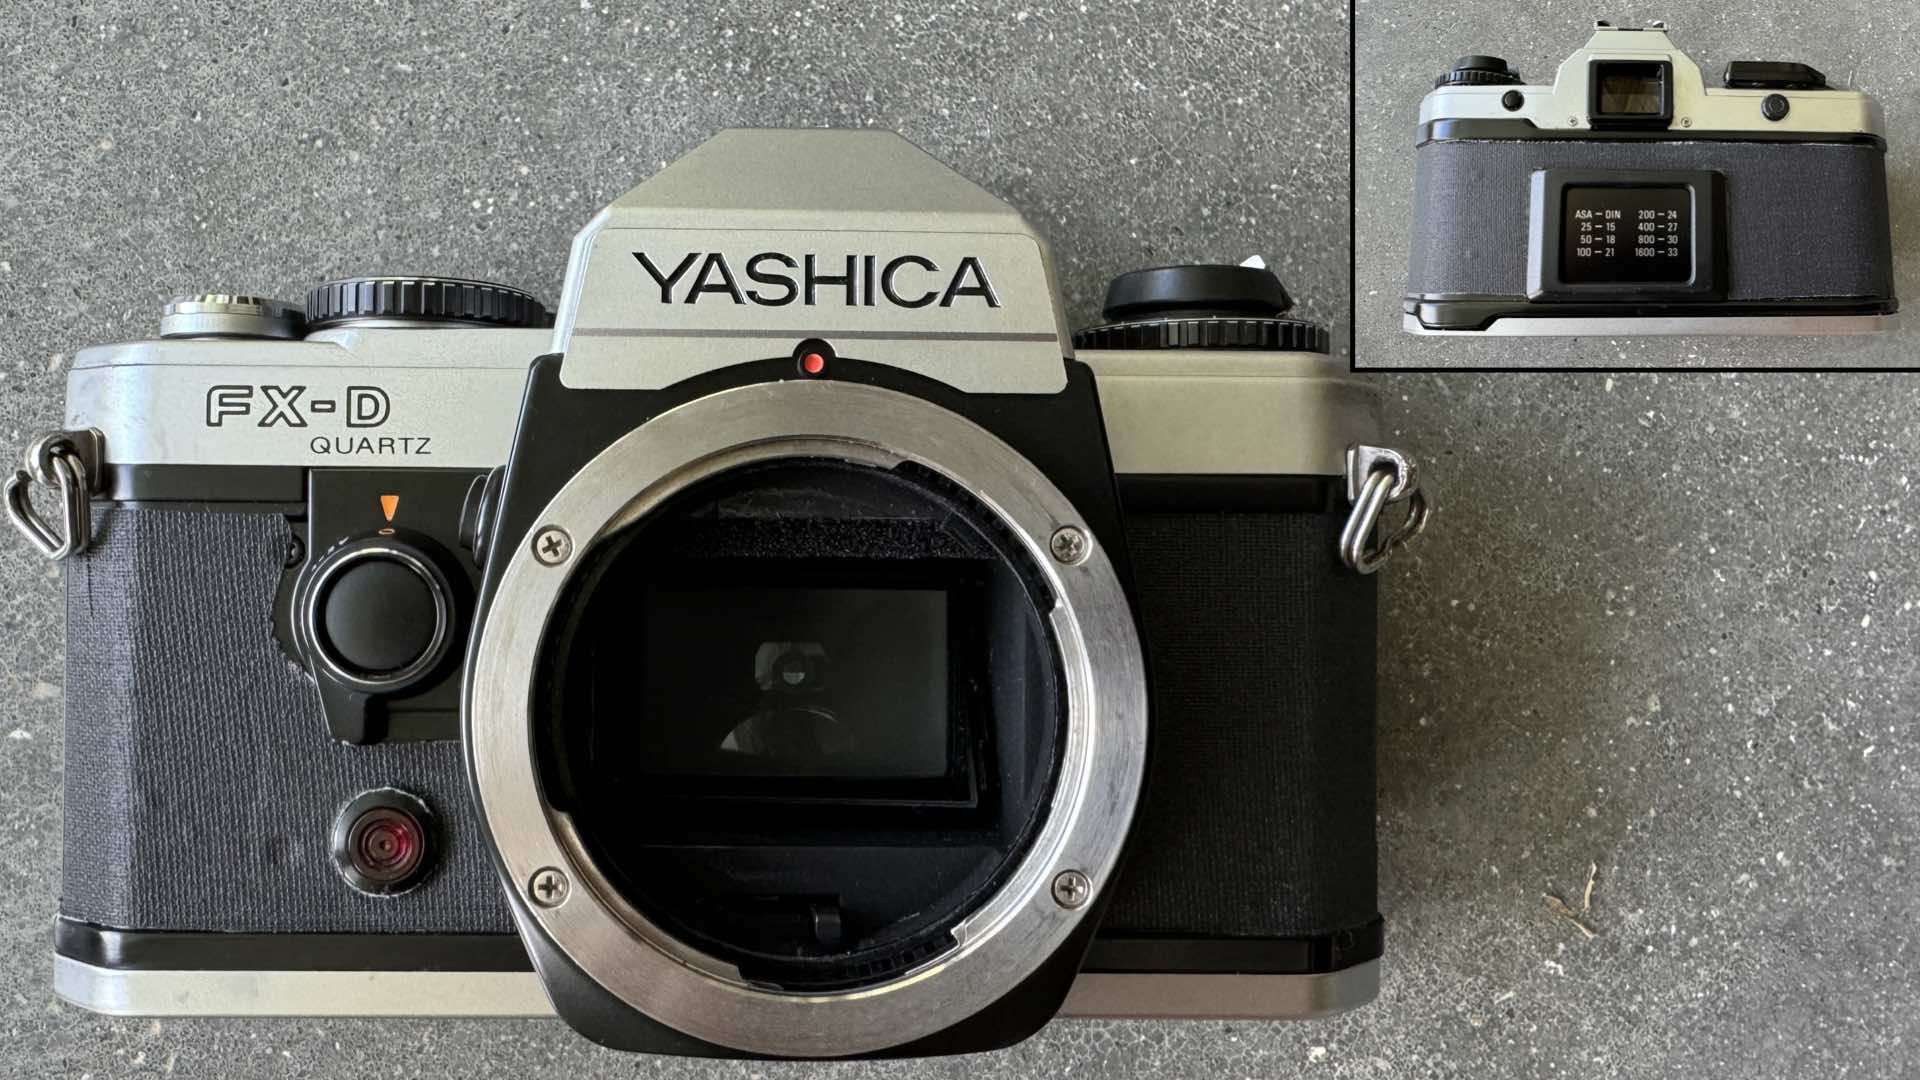
The subject for this camera recovering demonstration is the Yashica FX-D Quartz. This sad little camera suffered from a well-known covering defect. Its leatherette finish tended to peel away from the camera body.
Yes, this is a bad design error, but its ugliness does have two silver linings. First, the visible presence of this leatherette peeling significantly lowers the resale price of this camera. In fact, this otherwise powerful workhorse camera can be purchased in excellent operating condition for less than $40.
Additionally, the obviously damaged finish material highlights the second silver lining of buying a Yashica FX-D Quartz camera. It is extremely easy to remove and replace this leatherette.
There are only three pieces of this body covering material that need to be replaced. The material chosen for replacing the leatherette is unorthodox and NOT your typical camera finish.
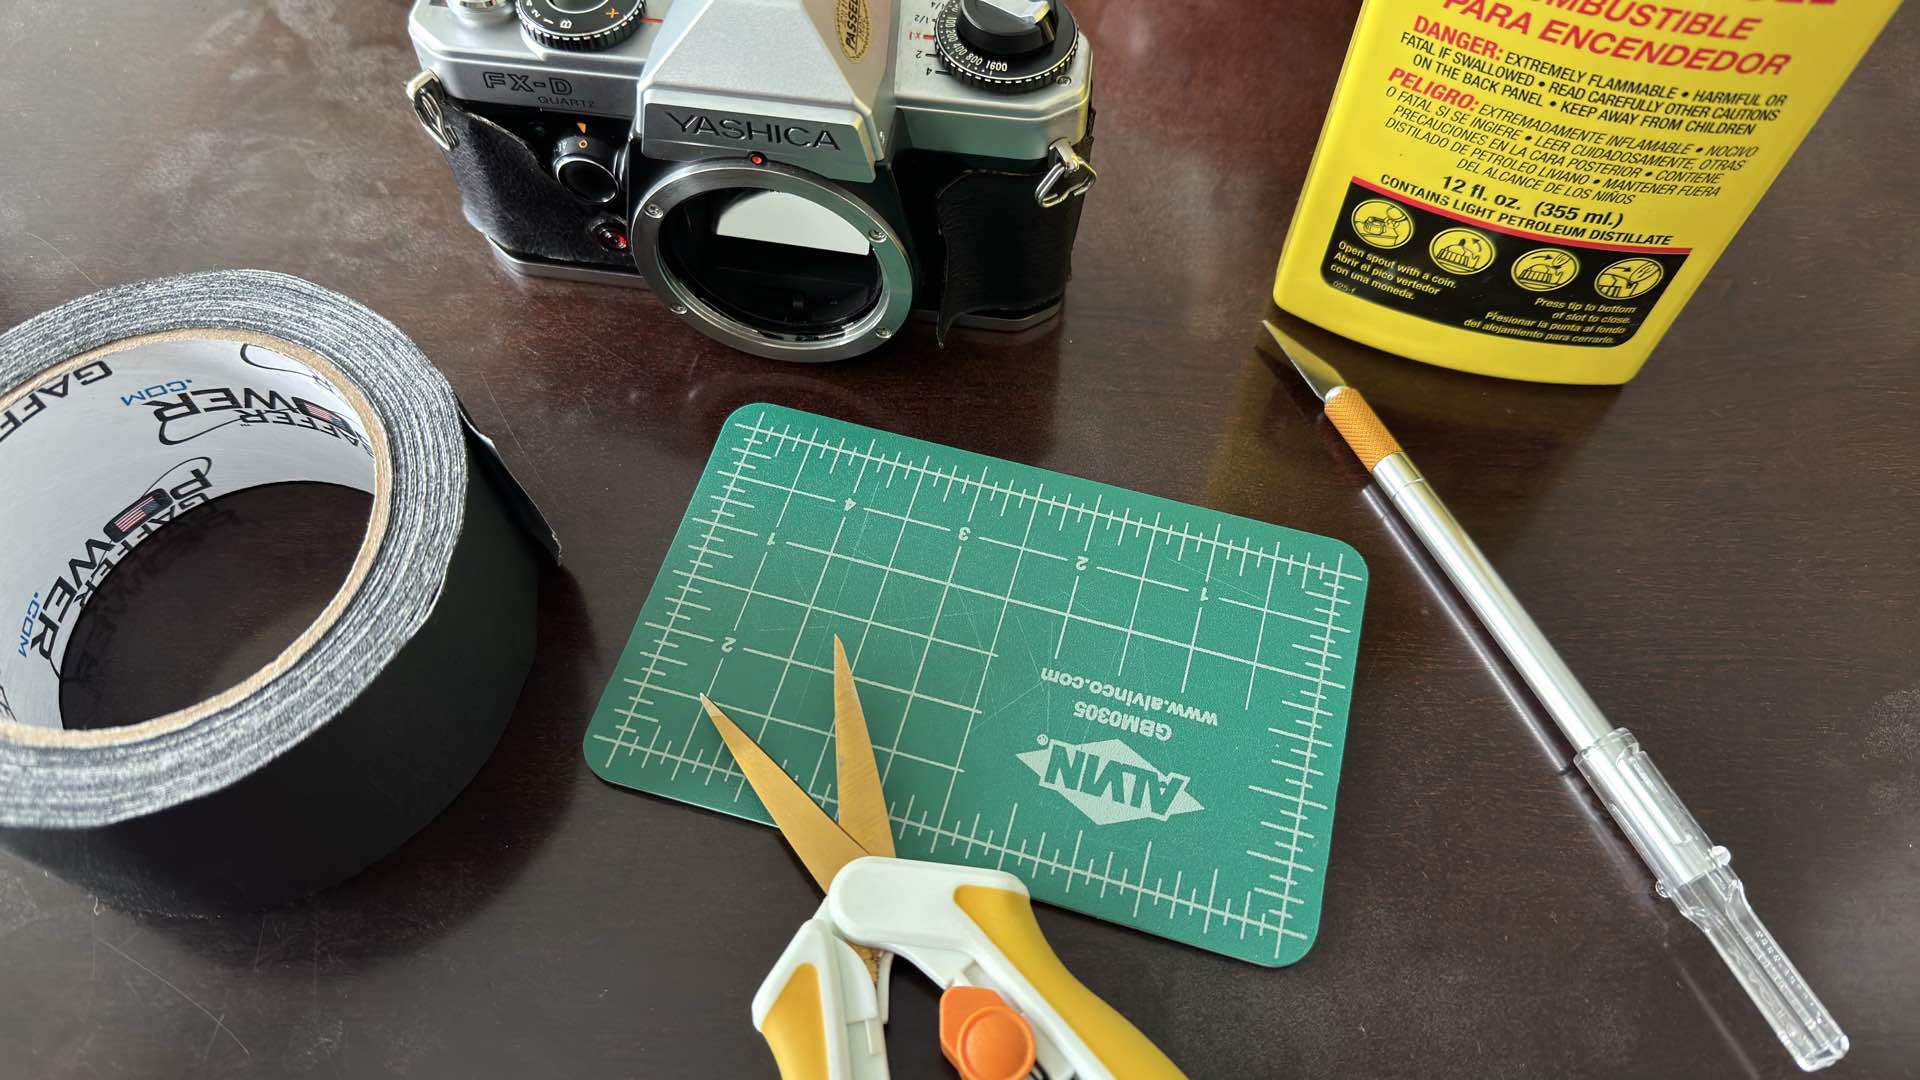
Gaffer Tape is used for this camera’s new finish. “What,” you scream? Settle down; this tape is an ideal material for covering a camera. It’s durable, feels great, is easily repositioned, and is low cost.
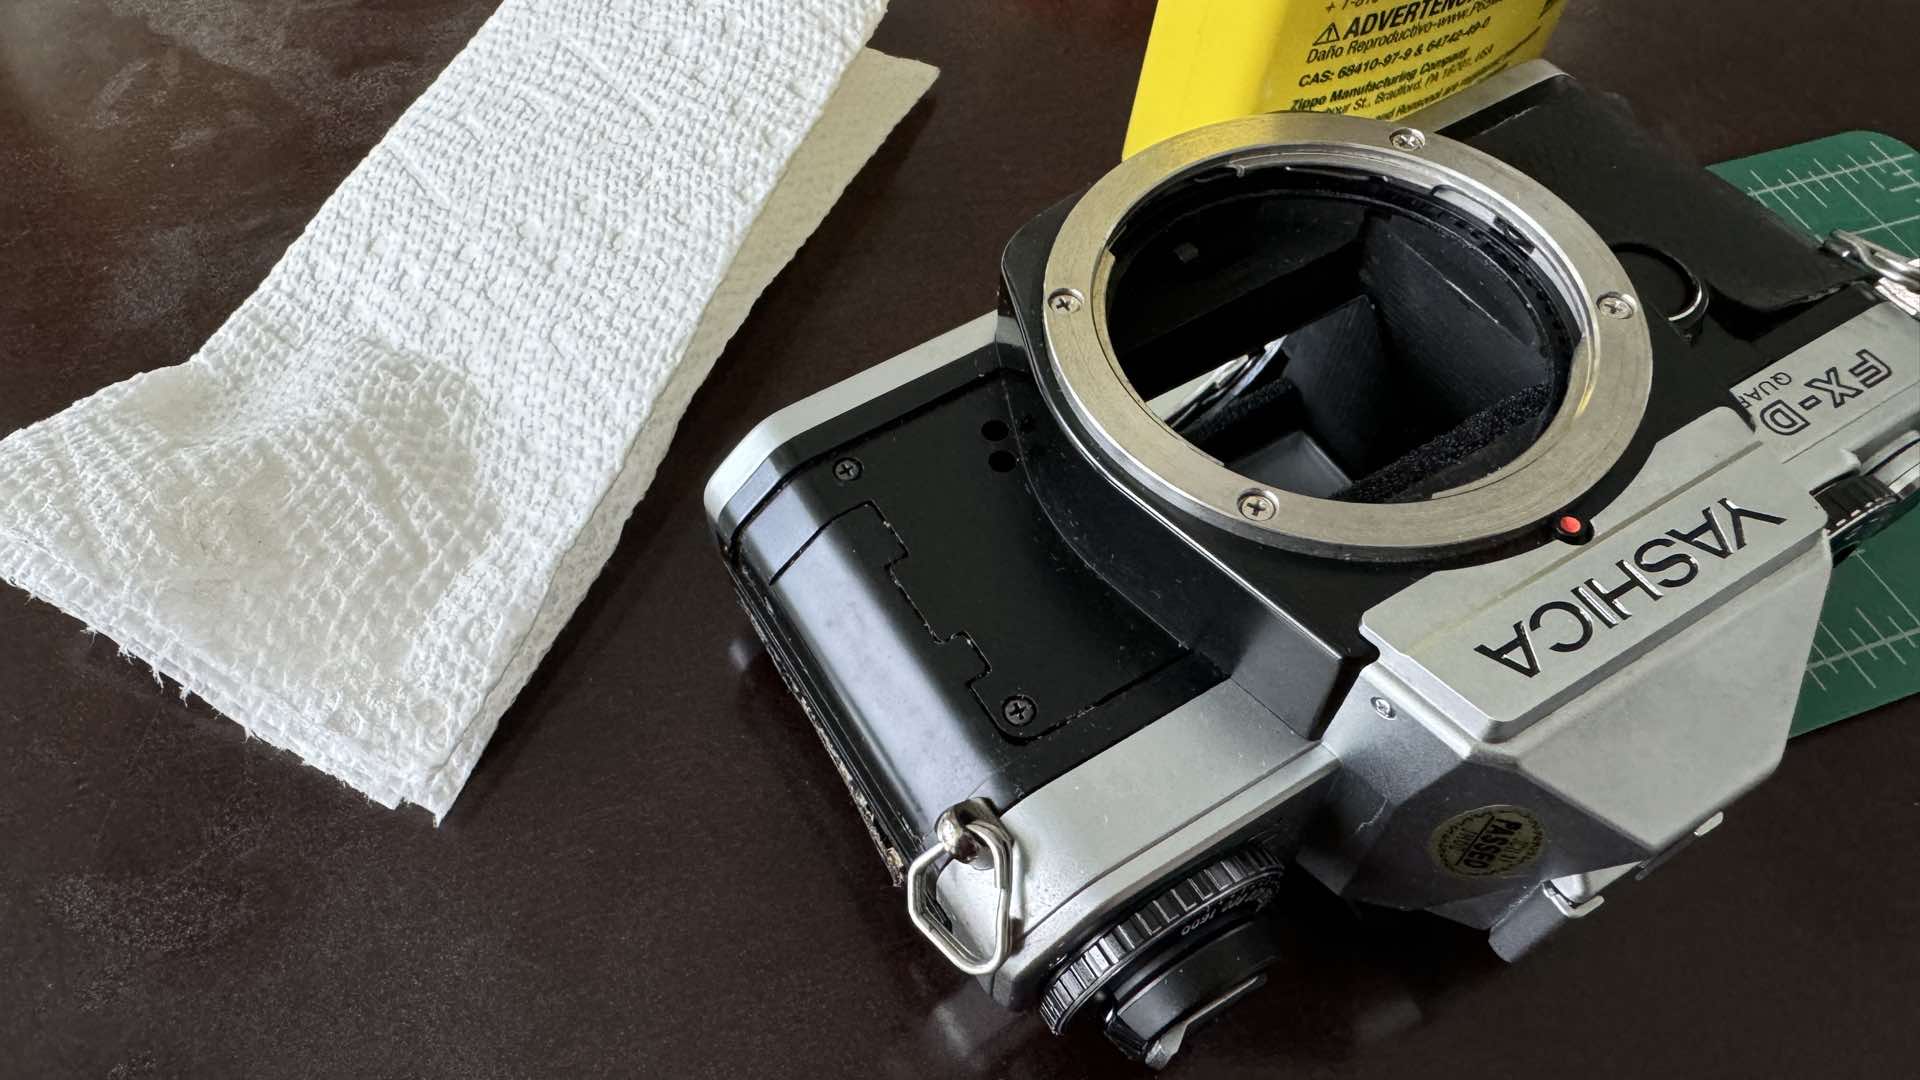
In addition to Gaffer Tape, you also need lighter fluid. Sparingly applied with paper or a fabric cloth, lighter fluid is used for removing all of the sticky residue from the camera’s body prior to adhering the new tape finish.
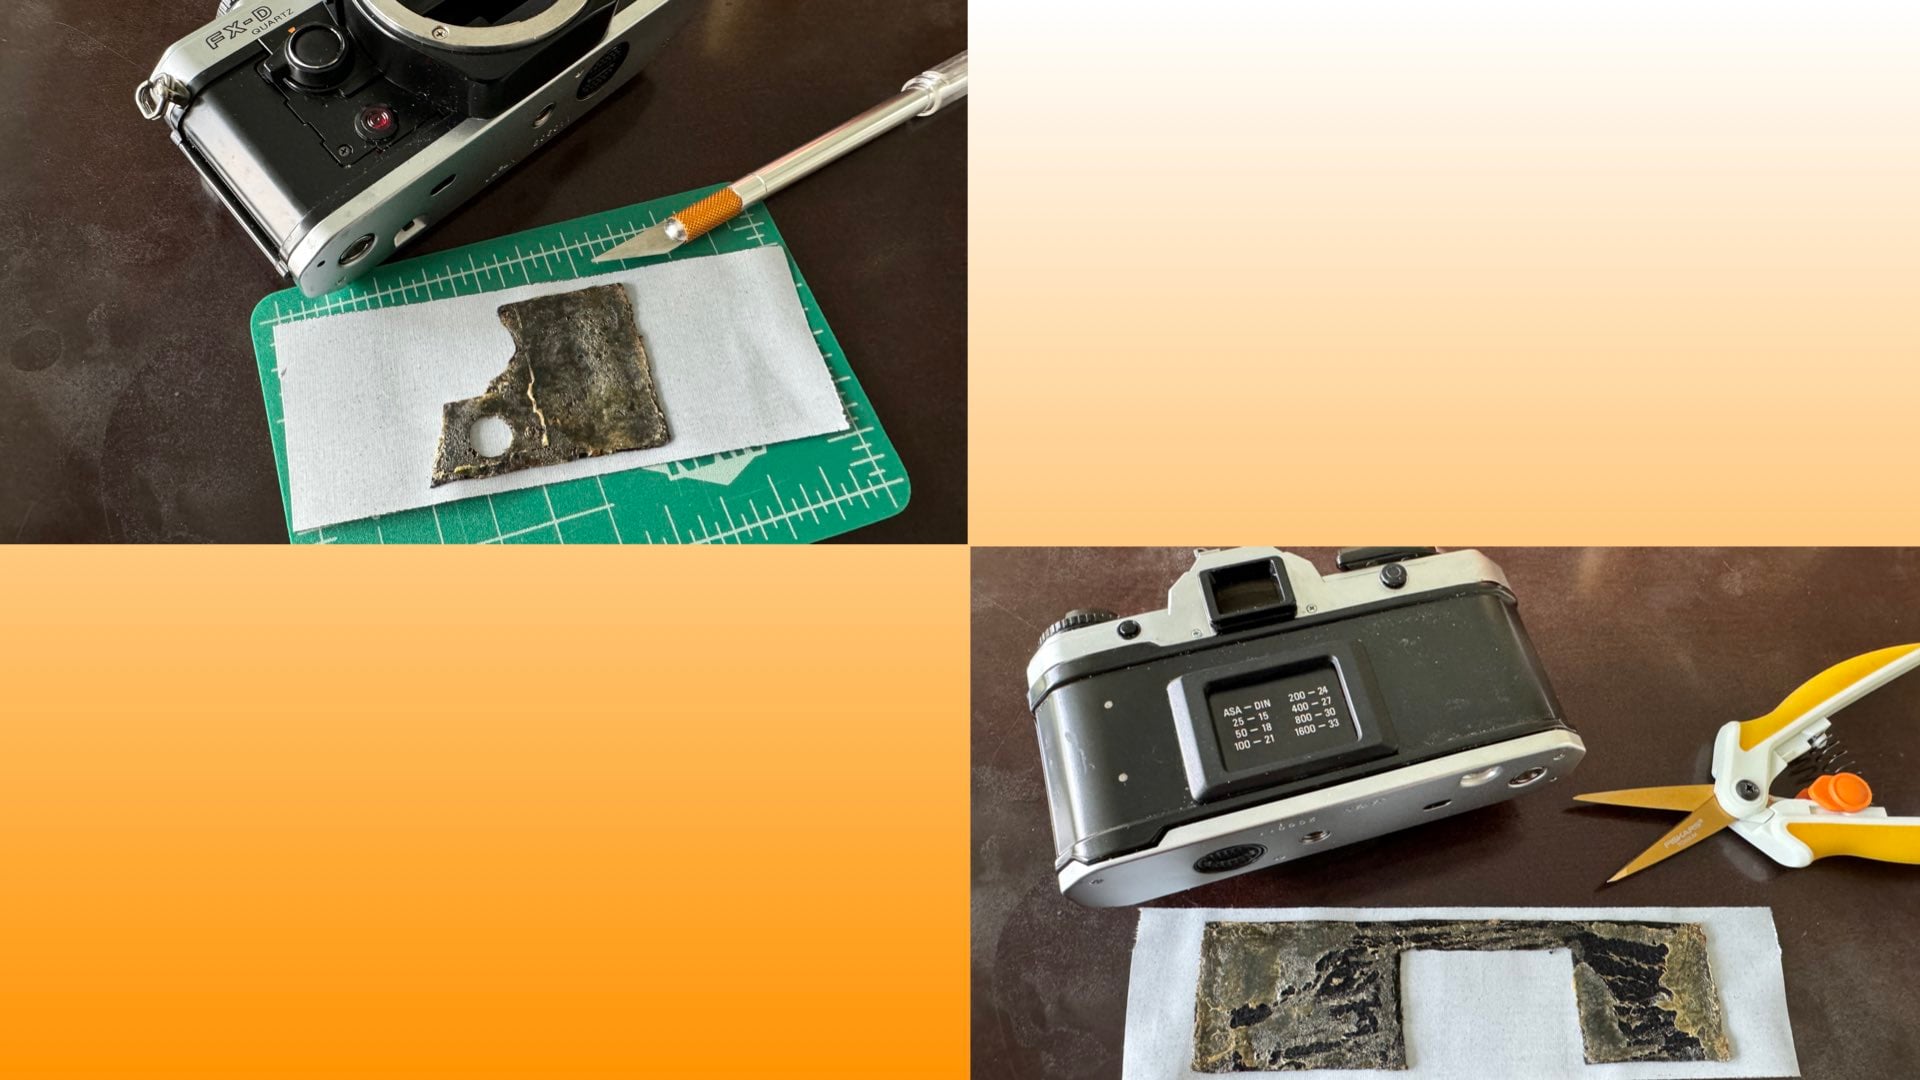
It’s as simple as 1-2-3. Just follow these pointers for ensuring that your Gaffer Tape finish is applied perfectly.
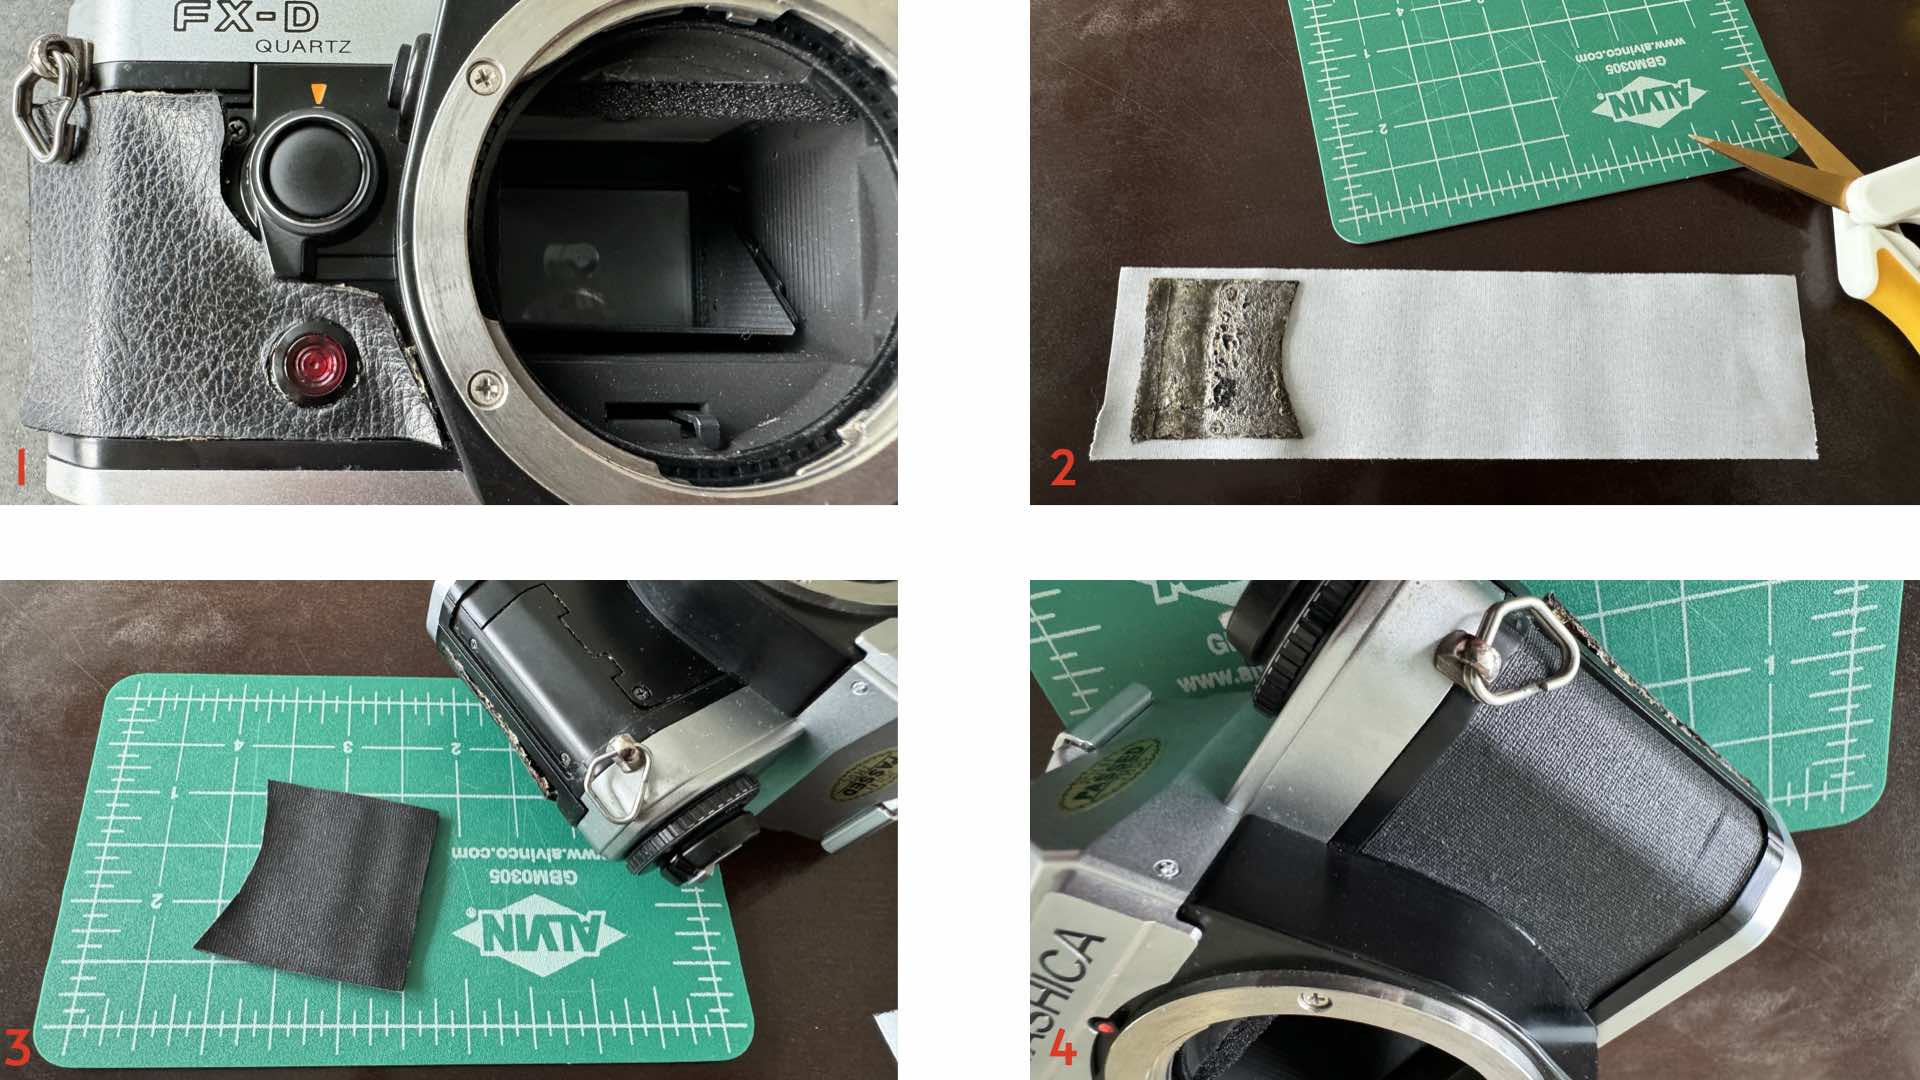
Lay the tape upside down (sticky side up) on a flat table surface. Remove the first section of leatherette from the Yashica FX-D Quartz and place it upside down (sticky side up) on the tape.
Be careful not to pull/stretch the leatherette during removal. This will distort the shape of the replacement tape covering.
Tightly trim the tape to match the outline of the removed leatherette.
Use a toothpick for pushing the tape into tight corners on the camera body. If you’re not satisfied with your tape application, carefully peel up one corner and reapply the tape.
And yes, ANY DIY camera finish project will negatively affect the camera’s resale value. But if you’re a “user” and not a “collector,” then this unorthodox recovering process could breathe new life into your vintage camera.
Enjoy.